


Building a bookshelf starts with understanding your room, purpose, and available skills. My woodworking experience shows that every DIY project needs planning, from selecting simple tools and supplies to creating reliable books storage with proper measurements.
- How Do I Build A Bookshelf: From Planning To Final Finish
- Choosing The Right Wood And Materials
- 1: Cut And Prepare The Wood
- 2: Build The Bookshelf Frame / Body
- 3: Install Shelves
- 4: Create Strong Joinery And Connections
- 5: Add Face Frame And Decorative Trim
- 6: Dry Fit And Make Adjustments
- 7: Final Assembly And Finishing
- Creating A Stable Base
- Securing The Bookshelf To The Wall
- Final Touches And Customization Ideas
- Tools And Materials List
- Traditional Woodworking Approach
- Cost, Skill Level, And Time
A successful build a bookshelf process combines bookshelf design, functional storage, and practical home improvement decisions. Choosing solid wood or suitable materials helps create a beautiful bookshelf while maintaining a strong bookshelf structure.
I approach every furniture project by considering bookshelf construction, personal preferences, and the surrounding living space. A custom bookshelf requires a clear bookshelf plan, accurate bookshelf dimensions, and thoughtful decorative details for lasting results.
How Do I Build A Bookshelf: From Planning To Final Finish
A good bookshelf design begins with selecting the right bookshelf type and understanding your storage needs. The chosen bookshelf style should match your room, while a custom design allows better control over appearance and function.
When creating a plan, I measure the available space and define overall dimensions. A plywood box bookshelf is often practical because plywood offers an affordable material option that remains strong material and easy to work with.
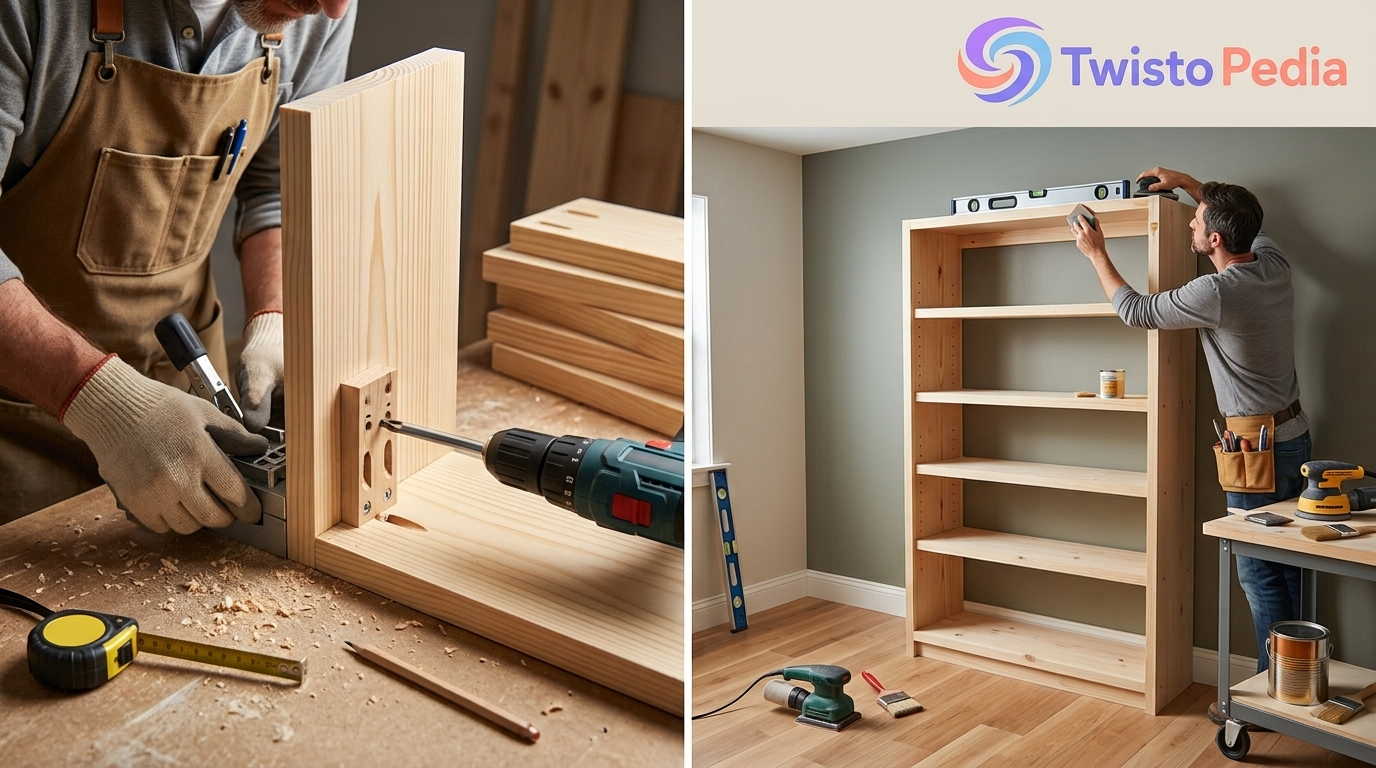
Before construction, prepare a detailed plan including materials list, quantities, and custom features. Consider bookcase depth, such as 12 inches deep, along with number of shelves, shelf spacing, adjustable shelves, and useful decorative features.
Choosing The Right Wood And Materials
Selecting materials starts with proper wood selection because different woodworking materials influence durability and appearance. I compare options like plywood, 3/4-inch plywood, 1/4-inch plywood, and 1/2-inch plywood depending on the bookshelf requirements.
For premium finishes, oak plywood creates an attractive surface, while lumber and boards provide strength. Common options include 1×2 boards, 1×3 boards, and 1×6 board for frames, edges, and supporting sections.
Professional results require suitable accessories like baseboard molding, base cap, crown molding, and edge banding. During assembly, tools such as pocket hole screws, wood glue, brad nailer, drill driver, and circular saw improve accuracy.
A complete workshop setup may include a cutting guide, miter saw, pocket hole jig, and shelf pin jig. After cutting, careful sanding creates a smooth finish, preparing the bookshelf for final installation and decoration.
1: Cut And Prepare The Wood
The first stage requires careful cut wood preparation because every measurement affects the final structure. I review how do i build a bookshelf plans before cutting plywood pieces, ensuring side panels, top panels, and back panel sections match correctly.
During wood preparation, I organize all cutting components according to the design. Precise accurate measurements improve the layout, while planned shelf placement ensures each section receives proper positioning before assembly begins.
I complete the preparation stage by checking wood pieces and refining sanding surfaces. Proper dadoes and woodworking joints create a clean result, allowing the bookshelf components to connect smoothly and maintain professional quality.
2: Build The Bookshelf Frame / Body
A strong bookshelf frame begins with assembling the main bookshelf body carefully. I align side panels, top panel, and back panel before starting the assembly process to maintain correct proportions.
Using pocket hole screws and wood glue creates strong joints that support a rigid structure. This combination helps develop a stable bookshelf capable of carrying books while maintaining reliable performance.
The construction process depends on proper alignment, reinforced supports, and suitable legs when required. These factors improve weight capacity and overall bookshelf stability, creating furniture that remains balanced during regular use.
3: Install Shelves
When I install shelves, I consider how the bookshelf will be used daily. Choosing between fixed shelves and adjustable shelves depends on changing storage requirements and different book sizes.
Using shelf pins allows flexibility while maintaining proper shelf placement. Correct shelf spacing improves organization and creates a practical arrangement that supports various books without reducing the strength of the structure.
A thoughtful shelf design enhances the bookshelf structure, especially around the middle shelf. Careful cutting joints and accurate placement ensure each shelf remains stable, aligned, and visually consistent.
4: Create Strong Joinery And Connections
Quality furniture depends on strong joinery because connections determine long-term reliability. Traditional woodworking techniques such as mortises, tenons, and dadoes create stronger relationships between bookshelf components.
Experienced craftsmen sometimes use tusks and keys to improve connection strength. Through accurate marking and precise cutting, these methods provide better structural strength compared with weaker fastening approaches.
A well-built bookshelf benefits from detailed joinery across important connection points. Combining traditional woodworking knowledge with modern equipment creates a durable bookshelf that reflects careful craftsmanship and lasting construction quality.
5: Add Face Frame And Decorative Trim
Adding a face frame improves the overall bookshelf appearance by creating a cleaner and more finished structure. I carefully arrange vertical sections and horizontal sections to maintain balance around the bookshelf design.
For stronger visual details, I use 1×2 boards and 1×6 boards around the top section and bottom section. These molding pieces enhance bookshelf edges while providing a refined furniture appearance.
The final improvement includes trim installation followed by sanding, painting, or staining. This stage allows personal customization while creating a polished bookshelf with attractive details and a professional finished look.
6: Dry Fit And Make Adjustments
Before completing permanent construction, I perform a dry fit to examine all bookshelf components. This fitting process helps identify problems early and allows changes before the final assembly begins.
I inspect rough areas, visible dents, and uneven surfaces before applying final finishes. These adjustments improve the appearance of the bookshelf while ensuring each component connects with proper accuracy.
Strong component alignment depends on patience and woodworking accuracy. Reviewing every section before fastening prevents future issues and creates a stable bookshelf ready for finishing and installation.
7: Final Assembly And Finishing
The final assembly stage combines all prepared sections into one complete furniture piece. During bookshelf installation, I confirm the location before permanent assembly to ensure correct placement.
Protective layers such as paint, wood finish, and stain improve durability. The drying process requires time, while sanding and filling nail holes create smoother surfaces before the final appearance.
The last improvements involve finishing touches, decorative molding, and careful bookshelf placement. A completed bookshelf provides organized books storage while improving the functionality and appearance of the surrounding room.
Creating A Stable Base
A dependable stable base creates a strong bookshelf foundation by supporting the complete structure. A properly built square frame and base frame reduce movement while improving balance.
I often add a kickplate below the bookshelf along with a reinforced bottom shelf. These parts work with additional supports and nails to increase strength during regular usage.
A carefully designed base improves bookshelf stability and prevents unwanted movement. The final structure gains a cleaner finished appearance through proper structural support, making it suitable for heavy book collections.
Securing The Bookshelf To The Wall
A secure bookshelf requires proper bookshelf safety because heavy books can create unexpected pressure. I check wall attachment locations and identify wall studs using a stud finder before adding permanent support.
Creating accurate clearance holes helps position a hanging strip with reliable screws. This method provides a secure installation that reduces movement and lowers the risk of tipping during everyday use.
A fully loaded bookshelf requires dependable wall support to maintain stability. Proper attachment protects users, prevents accidents, and keeps the furniture safely positioned while supporting books and decorative items.
Final Touches And Customization Ideas
Personal design choices begin with practical customization ideas that improve appearance and function. Simple finishing touches like crown molding and base trim can transform an ordinary bookshelf.
Selecting suitable paint colors and wood finishes changes the overall character of the project. Additional decorative cuts, rounded edges, and visual details create a more personalized furniture style.
I often modify the top section and bottom section according to the room design. These improvements strengthen the bookshelf style while creating a personalized design that reflects individual preferences.
Tools And Materials List
A successful project starts with organized tools and a complete materials list. Essential equipment includes a drill driver, circular saw, and miter saw for accurate cutting and assembly.
Specialized equipment such as a pocket hole jig, shelf pin jig, and brad nailer improves efficiency. Quality plywood sheets and lumber boards create a reliable foundation for construction.
Additional supplies including screws, wood glue, and trim materials complete the requirements. Choosing proper woodworking equipment helps achieve cleaner results and makes the building process more controlled.
Traditional Woodworking Approach
A traditional woodworking approach values precision, patience, and craftsmanship instead of only focusing on speed. A handcrafted bookshelf often includes mortise and tenon joints that provide reliable strength through proven construction methods.
Skilled makers use hand-cut dadoes with accurate marking to create precise connections. These techniques require advanced woodworking skills and careful attention throughout each stage of the furniture-building process.
The combination of detailed joinery, handmade details, and furniture craftsmanship creates furniture with durable construction. Traditional methods continue influencing modern builders by preserving techniques that produce strong and long-lasting bookshelves.
Cost, Skill Level, And Time
Before starting, evaluate the skill level required because each bookshelf project demands different abilities. A project with moderate difficulty requires patience, planning, and attention to detail throughout construction.
The estimated cost can range between $400–$1,200, depending on material choices, available tools, and finishing options. The estimated time is around 8 hours when preparation and measurements are properly organized.
Careful measurements, accurate cuts, and detailed trim details affect the final quality. Proper woodworking calculations help control expenses and manage project difficulty while avoiding unexpected construction challenges.